Background
My problem, like most technologists, is that I only have a slice of my time to dedicate toward acquiring and maintaining knowledge about any given technology, product, project, tool, platform, etc. Split that with the fact that almost every CIO is preaching that we, as technologists, need to be closer to the business, and our time gets even thinner. This Hacker’s Guide is meant to get the smart, motivated individual up and running much quicker than just pouring through the docs.
The OpenShift documentation is very good and there is a wealth of information. This article will point you to the bits and pieces that you absolutely need to read and understand to get up and running. It will also fill in a few gaps for the old sysadmin curmudgeon – like me. Give this guide 60 minutes, and you will be a rockstar with installing OpenShift 🙂
Where to Start
It’s often easiest to follow the exact process that someone else took when upgrading or installing a piece of software, so I documented the path I took, with some explanations on why. Hopefully, this helps you install or upgrade to the latest version of OpenShift with a minimum number of stumbling points. First, get a cup of coffee, and skim these links:
- Release Notes – these are particularly good for OpenShift. They explain a lot about which features are generally available and how to get started with them.
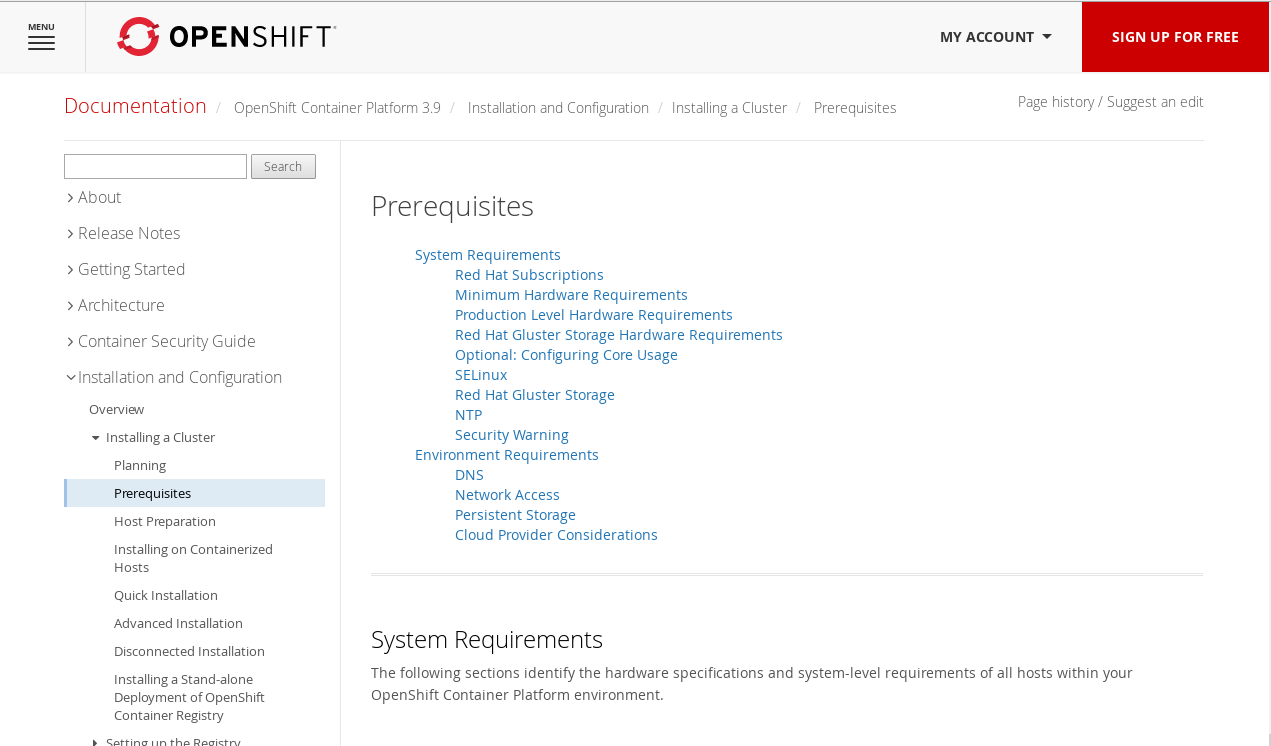
- OpenShift Prerequisites – the installation manual provides a great list of minimum requirements. For test setups, you can get away with WAY less resources. I have successfully installed OCP 3.9 on hosts with 1 vCPU, 2048MB RAM, and 29GB of disk
- Environmental Health Checks -The OCP documentation has a section called the Day 2 Operations Guide and it is phenomenal. In the spirit of DevOps, CI/CD, and testing, there are some extensive built in checks which verify that an installation is working.
- Preparing for an Upgrade – Whether installing or upgrading, the upgrade guide gives a pretty good feel for what the OCP installer does to a cluster.
Now, if you skimmed those like I did, you might have missed some things. Here are a few key pieces of information to internalize:
- The version of OpenShift maps to the version of Kubernetes on which it is built. OpenShift Container Platform (OCP) 3.7 is built on Kubernetes 1.7, OCP 3.8 -> Kube 3.8, and OCP 3.9 -> Kube 3.9
- When upgrading from OCP 3.7, you will skip right to using 3.9 – Red Hat did this to better synchronize with upstream Kubernetes
- There is still an OpenShift 3.8 channel because both 3.8 and 3.9 were basically released together – but you will never run version 3.8
- Do not run a yum update on your nodes and expect it to work. There is a lot of care taken with Ansible playbooks to upgrade etcd, the kubernetes masters, and the kubernetes nodes
- As of OCP 3.9, the manual upgrade process is no longer supported
- As of OCP 3.9, CRI-O 1.9 is fully supported and considered Generally Available (GA)
- The installer offers a lot of control over which nodes will run CRI-O
- Here’s a 4 minute read on how to run CRI-O 1.9 with OCP 3.9
Installation
I would break the installation into three basic steps – Preparation, Running Playbooks, and Testing/Verification.
Preparation
Most of the installation is handled by the OpenShift Container Platform installer which is based on Ansible. But, before the installer can take over and get OCP installed, you have to do a little preparation.
Step 1
Install Red Hat Enterprise Linux (RHEL) – This is what gives you access to hardware and/or virtual machines on almost any cloud provider. Since RHEL runs almost anywhere, OpenShift can run almost anywhere.
Step 2
Get your container engine up and running. Versions up to OCP 3.5 only supported the docker daemon
- OCP 3.6 began using the Kubernetes Container Runtime Interface (CRI). This meant that communication between Kubernetes and the docker daemon was through a standard interface and shim layer daemon. This was the beginning of plugable support for other container engines.
- OCP 3.7 supports the docker daemon and provided CRI-O support as tech preview.
- OCP 3.9 supports the docker daemon and made support for CRI-O generally available. Note, that the docker daemon is still needed for container image builds. Support for Buildah is coming soon.
- With the docker daemon, you have to get the package installed and storage configured. Red Hat provides the docker-storage-setup script to make this easier, but your mileage may vary on cloud servers. Many cloud instances don’t provide enough storage, nor the facility to partition in a way that is compatible with the storage script. Furthermore, not all cloud servers even use XFS (Linode uses EXT4 instead of XFS because their dynamic resizing relies on it). Full instructions on setting up the docker daemon can be found here.
- I typically disable the docker storage checks because I don’t mind using loop back and device mapper for builds. Even though it is slower for builds, it works fine in practice unless you are performing a ton of builds. Down the road I plan on relying on Buildah which will use overlay2 by default.
- CRI-O is designed for use in an automated environment. Because it leverages technologies like OverlayFS, it requires zero configuration by the end user. All you do is install the “cri-o” package and run the OCP installer. It’s configured securely by default, so only OCP can run containers. You specify a few OCP installer options, get a cup of coffee, and it’s set up for you.
Step 3
Setup Red Hat Subscriptions – instructions here. Basically:
subscription-manager attach --pool=YOURPOOLID
subscription-manager repos --disable="*"
subscription-manager repos --enable=rhel-7-server-rpms --enable=rhel-7-server-extras-rpms --enable=rhel-7-server-optional-rpms --enable=rhel-7-server-supplementary-rpms --enable=rhel-7-server-rh-common-rpms --enable="rhel-7-server-ose-3.9-rpms --enable=rhel-7-fast-datapath-rpms
Step 4
Install the Ansible installer somewhere.
- This can be on a completely different machine. In fact, it’s typically on a machine separate from the cluster. I typically do all of my installs from a single machine by making copies of /root/.config/openshift. This makes it easy to manage installs/uninstalls of multiple clusters from one command and control box. Here is how I manage my /root/.config directory.
Enable the channels and install -full instructions here. Basically, this should get your installer up and running:
subscription-manager repos --enable=rhel-7-server-ansible-2.4-rpms --enable=rhel-7-server-ose-3.9-rpms
yum install atomic-openshift-utils.noarch
yum install openshift-ansible-playbooks
Running Playbooks
Once you have your hosts prepped, and the Ansible installer installed somewhere (that’s a mouth full), you have two options – the Quick Installer or Advanced Installer. I almost always use a mix of both. Typically, I use the quick installer to generate an Ansible inventory file for me. Then, I tweak it and let the installer continue. Also, once I have an Ansible inventory file I am happy with, I heavily rely on the main install/uninstall playbooks – described below.
Quick Installer
Run the first part of the Quick Installer, once the final configuration is written, you will see the below text:
Do the above facts look correct? [y/N]: y
 Wrote atomic-openshift-installer config: /root/.config/openshift/installer.cfg.yml
 Wrote Ansible inventory: /root/.config/openshift/hosts
 Ready to run installation process.
 If changes are needed please edit the config file above and re-run.
 Are you ready to continue? [y/N]:
Modify the Ansible Inventory file
Before the you press “y” and allow the installer to continue, add the following lines to the installer configuration. The first sets the Kubelet options, the second skips some tests if this is a small test environment which doesn’t meet all of the hardware requirements:
vi /root/.config/openshift/hosts
[OSEv3:vars]
 ...
 openshift_use_crio=true
 oreg_url=registry.access.redhat.com/openshift3/ose-${component}:${version}
Now, finish the installer:
If changes are needed please edit the config file above and re-run.
 Are you ready to continue? [y/N]: y
Advanced Installer
Once you run the above once, you should have a working baseline Ansible inventory file to work with. Here is an example Ansible inventory which I used to install my latest cluster. Or, you can build one from scratch using these instructions.
Useful Playbooks
Advanced Installation
ansible-playbook -vvv -b -i /root/.config/openshift/hosts /usr/share/ansible/openshift-ansible/playbooks/deploy_cluster.yml
Uninstallation
Every now and then, you need to delete a few things manually as well:
ansible-playbook -vvv -i /root/.config/openshift/hosts /usr/share/ansible/openshift-ansible/playbooks/adhoc/uninstall.yml
rpm -e etcd flannel
rm -rf /etc/etcd /var/lib/etcd /etc/origin /root/.kube/ /var/log/journal/*
Configure Masters
ansible-playbook -vvv -i /root/.config/openshift/hosts /usr/share/ansible/openshift-ansible/playbooks/byo/openshift-master/config.yml
Configure Nodes
ansible-playbook -vvv -i /root/.config/openshift/hosts /usr/share/ansible/openshift-ansible/playbooks/openshift-node/config.yml
A full list of other playbooks is document here as well as the order to run them in. Often it can be useful to run certain ones over and over when troubleshooting an installation.
For example, I recently installed a seven node cluster on virtual machines hosted at Linode – since Linode doesn’t have the concept of a Virtual Private Network like AWS, I needed to lay down some kind of network layer to make communications for NFS and etcd secure. I chose OpenVPN, which at first added some complexity to my installation. But, once I troubleshooted the initial problems and got a working Ansible inventory file, the install runs flawlessly.
Testing & Verification
OpenShift Container Platform has a ton of great documentation. There is a lot of documentation, so sometimes it helps to take some notes on where to find some of the choice tidbits. Here are some of my favorite test to check that an OCP cluster is up and running properly.
Day Two Operations Guide
Within the OCP documentation is a section called the Day Two Operations Guide. Within it is a ton of great information about how to run OCP in production. One of my favorite sections for verifying an installation is called Environment Health Checks. Basically, run the following commands and if they complete, your environment should be pretty healthy:
oc new-project validate
oc new-app cakephp-mysql-example
oc logs -f bc/cakephp-mysql-example
Cluster Administration
The Cluster Administration chapter has a great section on Troubleshooting Networking which documents how to use a set of automated tests built into the oc command. The following is your friend when doing strange networking things (like OpenVPN below OCP 😛 ):
oc adm diagnostics NetworkCheck
Upgrading Clusters
The Upgrading Clusters chapter has a section called Verifying the Upgrade. Within it is a set of simple tests to verify a cluster. These are useful even for new installations:
oc get nodes
oc get -n default dc/docker-registry -o json | grep \"image\"
oc get -n default dc/router -o json | grep \"image\"
oc adm diagnostics
Conclusion
OpenShift is a great platform built on the power of Kubernetes. Part of it’s value comes from the extensive power of the installer, documentation, troubleshooting guides – which in the bigger picture is what facilitates the great ecosystem.
I have installed and uninstalled OpenShift 100s of times – earning me the ability to troubleshoot almost anything in a distributed systems environment 🙂 I wanted to share some of my tips and tricks so that you can get your own environment up and running quicker. As you develop your own tips and tricks, please, please, please share them back. I welcome comments and feedback below…
This is an awesome collection of tips. I will be referencing it and sharing with our team as we move to OCP 3.9.
Great article. Could you also please tell how a minor release version upgrade is carried out. Say from instance 3.9.27 to 3.9.31. Are the steps same or different?
Minor releases should just be a yum update to the packages…